Print Manager
To see a video help for this topic, click ![]() .
.
The Print Manager is where the user can manage the printing of reports. The print option can be accessed whether a project is complete or not. The Print option can be found on the menu bar, under the Tools dropdown, from anywhere inside a project.

Click on the Print tab from anywhere inside an estimate and the Print Manager window will open.
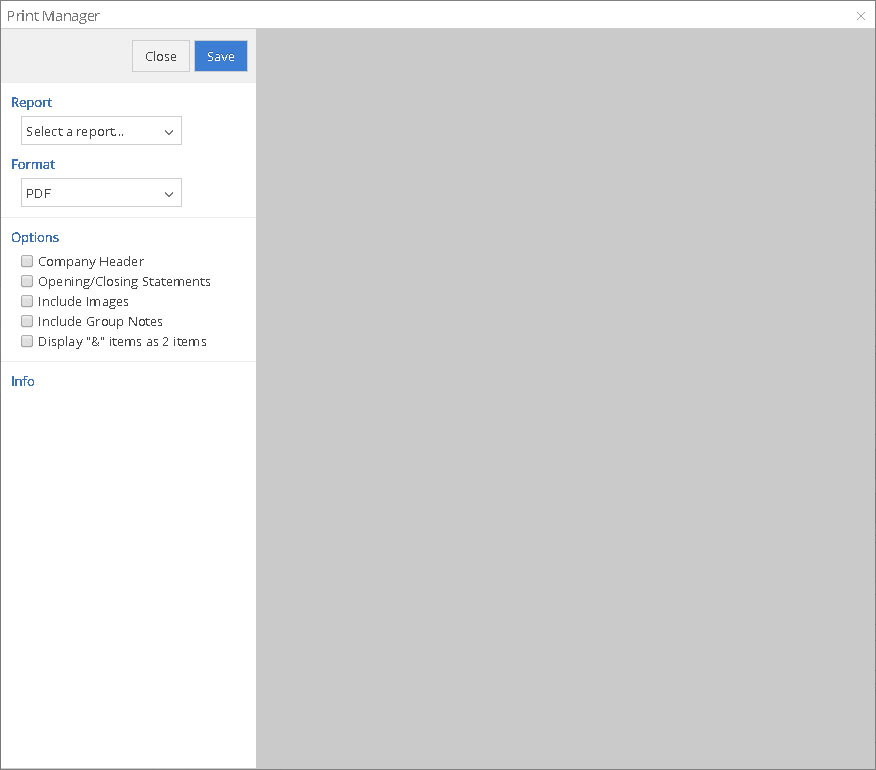
Click on the dropdown arrow under Report, to select the report of your choice. A preview of the report will appear and an explanation of what is included in the report will show under Info.

The Format dropdown allows you to select the file in one of 2 formats:
PDF or Zipped JPEGs. When the Save button is pushed, the report will be saved in the format that was selected.
The Options allow you to display the report according to the options that you select. Click next to the options you want to display and uncheck those that you don’t want displayed. The preview screen will display the report per the options that you selected. By default, if an item exists, that option will be checked. For example, if a project has a header selected in the Project Info, then when you go to the print manager, that option will already be checked.
Note: Projects that were created as just normal estimates will be sent to XactPRM Connect as field assignments when a report is saved as a PDF. This makes it so that all estimates become an assignment, whether they were generated as assignments in XactPRM Connect and then sent to XactPRM, or if they are created in XactPRM, they become field assignments as soon as reports are saved; assuming that by saving reports the user is stating that the project is complete.
For Technical Support please call 1-800-710-9228 or click here to access our live chat service.
Copyright 2004-2018 Xactware Solutions, Inc. All rights reserved.