Header
In this Help Topic Hide
To see a video help for this topic, click ![]() .
.
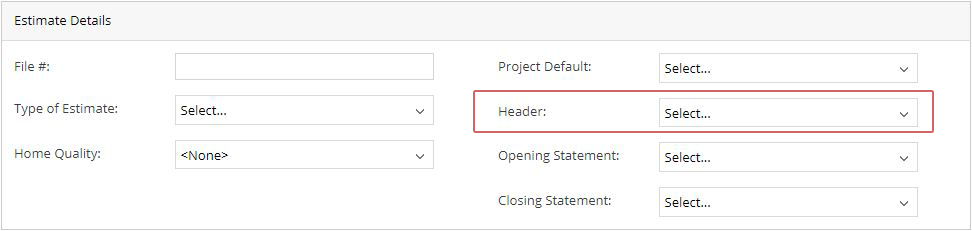
The Header dropdown allows you to select an existing header and assign it to the specified project, or add a new header that does not exist, or edit information on an existing header. The header can then be added to the reports that are generated when you click Print. The Header dropdown can be found in the Estimate Details section of the Project Info tab for any new or existing project:
When clicking on the Header dropdown a smartlist of previously created headers will be displayed. From there you can select an existing header, create a new one, or edit an existing one. If there are no existing headers, then the first time you open the dropdown list an Add New Header window will open, ready for you to create one.
Click on the Header dropdown.

Click on the desired header. The dropdown will close and the selected header will now populate the field next to Header.
Click on the Header dropdown.
Click the edit icon next to the header you would like to edit from the dropdown list.
The Edit Header pop-up window will open. Here you can change the Company Name, Company Contact Information, and the Image for the header that was selected.
After any changes are made, if you click the Cancel button, the Edit Header pop-up will close, and nothing will be changed. If you click the OK button after making changes, the Edit Header pop-up will close, and changes that were made will be saved.
Click on the Header dropdown.
Click the delete icon next to the Header you would like to delete from the dropdown list.
A pop-up window will appear that states, “This object may be in use by other users. Are you sure you want to delete?” If you pick on the Cancel button, the pop-up message will close, and nothing will be deleted. If you pick on the OK button, the pop-up message will close, and the selected header will be removed from the dropdown list.
*Be advised that by deleting a header from the list, other users will no longer have access to that header. The header will remain on any existing projects, but it won't be available for any new projects that will be created.
Click on the Header dropdown.
Click the add icon at the bottom of the dropdown list.
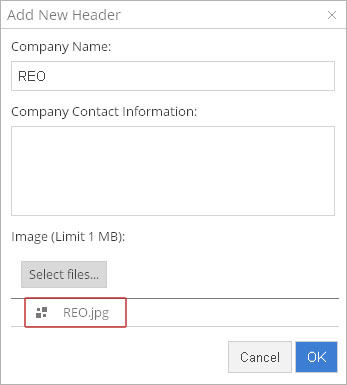
The Add New Header pop-up window should appear.
Type in a Company Name, the Company Contact Information, and select a header Image and click OK. The newly created header will now populate the Header field.
Note: An added image does not display the actual image at this point. The image file name is displayed only.
To see the actual file image, click OK here. Now open the dropdown and click the edit icon.
Now the image file will be shown in the Image area of the Edit Header pop-up window.
* If you are not able to make changes to a field, the profile owner has locked down that option.
For Technical Support please call 1-800-710-9228 or click here to access our live chat service.
Copyright 2004-2018 Xactware Solutions, Inc. All rights reserved.