Allowables
In this Help Topic Hide
To see a video help for this topic, click ![]()
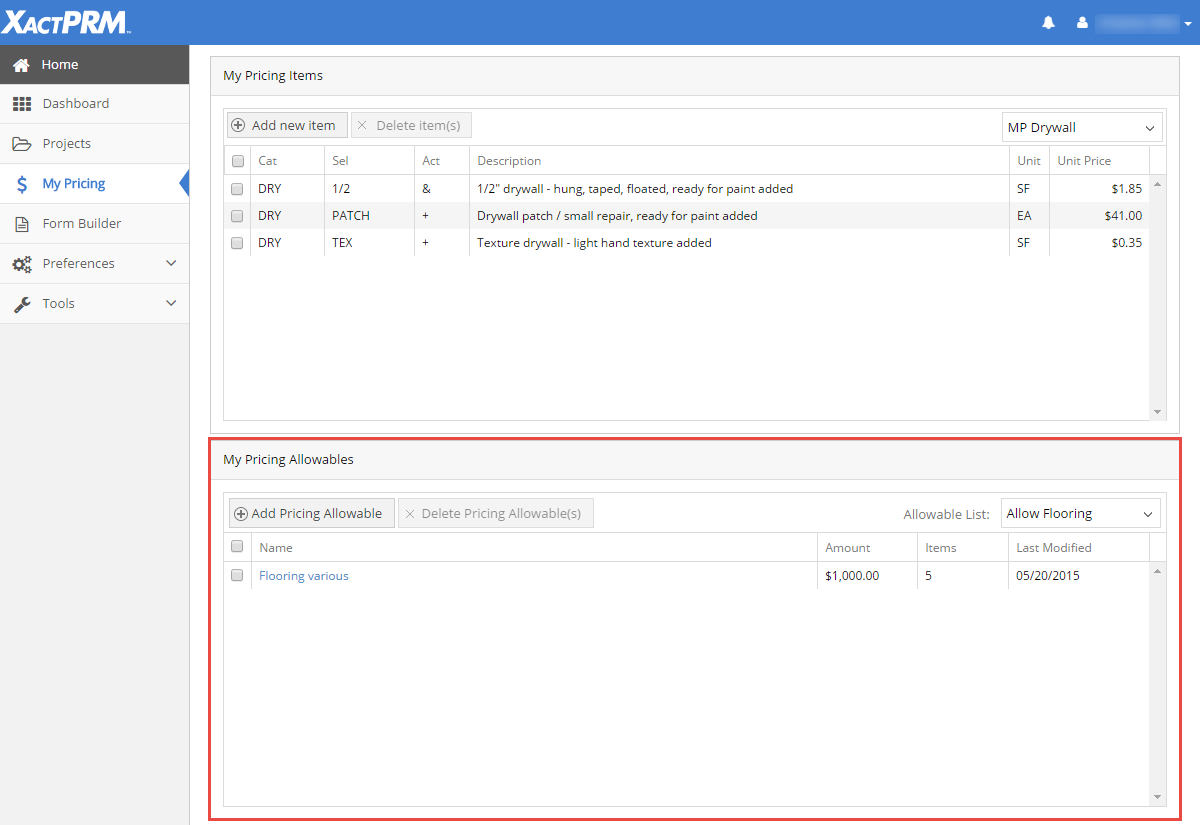
My Pricing Allowables is the area where various allowable lists and line items added to those lists can be specified. By creating allowable lists, and then adding line items to those lists, you can specify a dollar amount that is allowed for particular line items within any given project. Amounts in excess of the specified amount are demonstrated as red highlighted text in the estimate Added Items section to make it very visible to the user. The My Pricing Allowables can be accessed from the My Pricing tab.
Click on the dropdown at the top right portion of the allowables section. Then select the Add button.
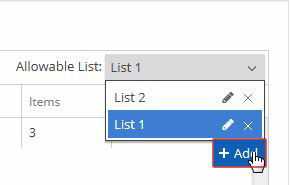
The Add Allowable List pop-up will appear.
If no Allowable lists have been created, when you click on the dropdown the Add Allowable List pop-up will automatically open. Enter a Name and click OK. The pop-up will close and you can now add Pricing Allowables to the List.
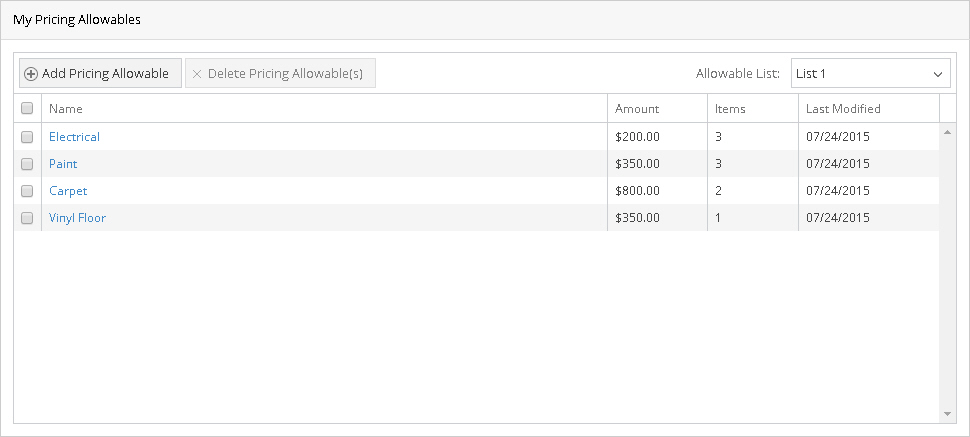
In order for allowables to be used, allowable pricing needs to be setup inside an allowable list. When a new Allowable List is created the Allowable section of the My Pricing tab will look like this.
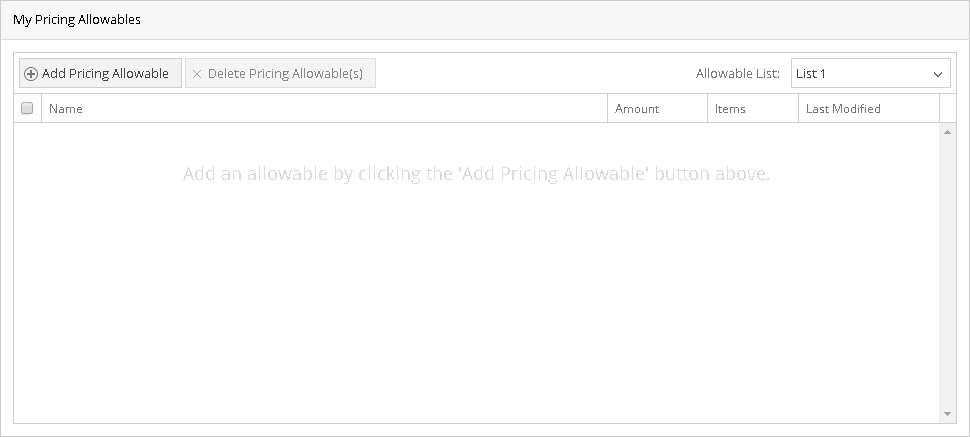
To add a pricing allowable, click on the Add Pricing Allowable button in the upper left portion of the section. That will open a new pop-up window.

In this screen you would first type in a Name for this particular allowable. Then enter the Amount value you would want for this allowable. For example, let's say you want an allowable for the Electrical items on a project and you only want the amount to be up to $200.00. You would type Electrical in the Name field and then 200.00 in the amount field.

Next you would add the line items that you want that the amount to allow for. Say that in that $200 you want to include the outlets, switches and a basic light fixture and nothing more. Then in the Allowable Items you would add an ELEOS, ELEOSS, and LITAV.
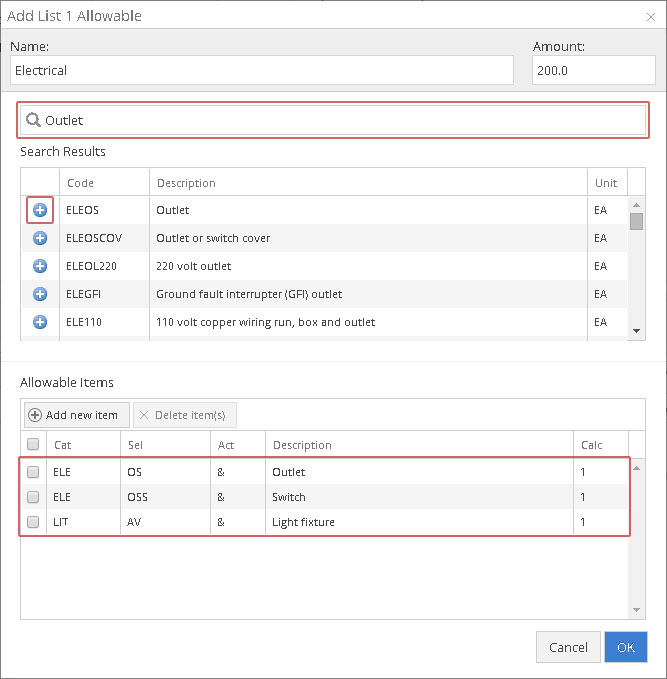
Note: If you don't know the line item code for a particular item, type that in the Search field and hit enter. Line items that relate to what you typed in the search will appear in the Search Results section. From there you can just click on the blue add button to add that line item to the Allowable Items list. Once you have added all of the line item you want included for that allowable amount, click on the OK and those items will be saved to that allowable name within the allowable list that you created. To add another allowable name, follow these same steps until you have an item list for all of the categories you want to be part of the same allowable list.
To make any changes to an already created allowable name, click on the allowable name you wish to modify
That will reopen the allowable to the Edit screen.
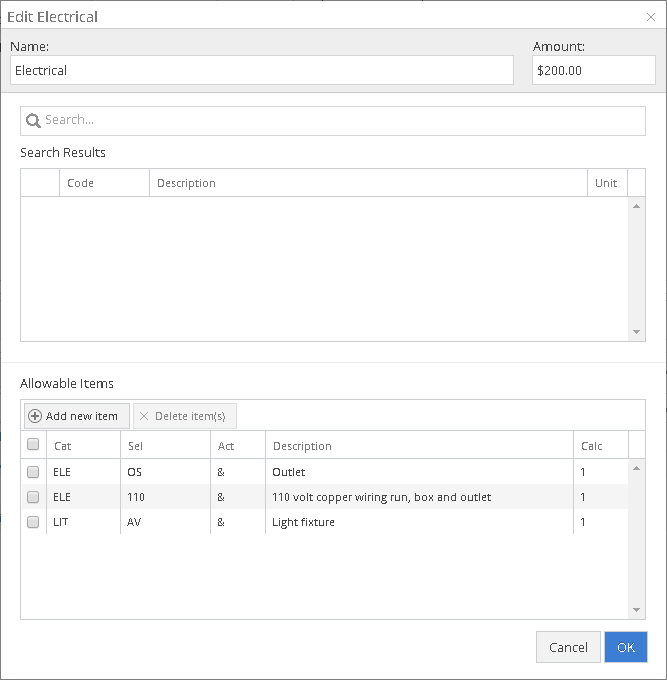
From here you can change the name, modify the allowable amount, and add or remove line items. Once all the changes are made click on the OK button. If you click on the Cancel button, none of the changes will be saved.
To remove an allowable name from within an allowable list, click on the box of the allowable(s) you wish to remove

Click on the Delete Pricing Allowable(s) button and a pop-up message will ask to confirm that you want to delete the allowable(s). Click Cancel to keep the allowable, and OK to proceed to remove.
Click on the dropdown at the top right portion of the allowables section. Then select the Edit icon of the name you wish to edit.
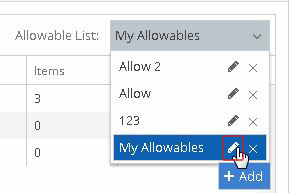
The Edit Item List pop-up will appear.

Replace the name in the Name field with the new name and click OK.
Click on the dropdown at the top right portion of the allowables section. Then select the Delete icon of the name you wish to remove.

A pop-up warning message will open that says “This object may be in use by other users. Are you sure you want to delete?” Click OK to remove or click Cancel to keep the custom price set.
For Technical Support please call 1-800-710-9228 or click here to access our live chat service.
Copyright 2004-2018 Xactware Solutions, Inc. All rights reserved.